Run Ackee on a self-hosted Dokku server
Ackee is an analytics tool that captures statistics about website visits. Unlike other applications in this area, Ackee does not use cookies at all. With the help of the provided Docker image, the tool can easily be installed on a self-hosted Dokku server.
The analytics software was written in NodeJS and uses MongoDB to store the data. It can optionally be run directly on a server if Node is present and is also offered as a Docker Image. This means that the application can be run on a Dokku server. Dokku is a PaaS that can be run on an own server.
Ackee can be seen as an alternative to Google Analytics or Matomo (formerly known as Piwik). However, it does not use cookies, so there is no need to display a cookie banner. To prevent page views from being counted twice, a hash is calculated for each visitor. The hash consists of the IP address and the user agent of the visitor as well as a random salt that changes daily. By updating the salt daily, it is impossible to track the visitor over a longer period of time.
Prerequisites
For the installation to be successful, the following prerequisites must be fulfilled:
- Server with a freshly installed Ubuntu with SSH access and root privileges
- Website on which the tracker code can be integrated
Installation
If a Dokku server has already been set up, step 1 can be skipped and started directly with step 2.
Step 1: Install Dokku
Before Dokku can be installed, a domain (or subdomain) must be set up as a wildcard domain so that the subdomains can be used for the individual applications.
Dokku itself is installed from the command line. Dokku provides a bash script, which automatically performs the installation.
But first, a public-private key pair must be created for the root user:
ssh-keygen -t rsa -P "" -b 4096 -f ~/.ssh/id_rsaThe installation script by Dokku can then be executed. This process takes a few minutes.
wget https://raw.githubusercontent.com/dokku/dokku/v0.18.5/bootstrap.sh;
sudo DOKKU_TAG=v0.18.5 bash bootstrap.sh
The wget ... command downloads the installation script and the second command executes this script on the server.
The version, here 0.18.5, should be replaced by the current version.
(At the time of writing, the version 0.19.2 of Dokku was not installable.)
An overview of the available Dokku versions can be found on the GitHub page of the project.
After the installation script has been run, the installation has to be finished via the web interface. To do this, the Dokku domain is opened in the web browser. It is important that this step is fully completed, otherwise it is possible that the Dokku server is taken over, as the web interface is not protected by any password until the installation is completed.
Step 2: Create Application
For Ackee a new application is created in Dokku. This happens with this command:
dokku apps:create ackeeIn this example ackee is the name of the application and will be used in the next steps of the installation.
If necessary, a different name can also be specified; then it must also be adapted in the following steps.
Step 3: Define login credentials
The statistics are protected by a login procedure. The username and password are set via environment variables:
dokku config:set ackee ACKEE_USERNAME=admin ACKEE_PASSWORD=passwordThe values admin and password should be replaced by any user name and a secure password.
Step 4: Create database
Before the application can be started, the database must first be set up. To use MongoDB together with Dokku, the MongoDB-Plugin is installed:
dokku plugin:install https://github.com/dokku/dokku-mongo.git mongoNow a new database with the name ackee can be created:
dokku mongo:create ackeeSo that the database can also be used by the ackee application, the database must be linked to the application:
dokku mongo:link ackee ackeeThe command creates an environment variable called MONGO_URL, but the variable Ackee uses is called ACKEE_MONGODB.
For this reason, the value of MONGO_URL is copied to the variable ACKEE_MONGODB:
dokku config:set ackee ACKEE_MONGODB=`dokku config:get ackee MONGO_URL`Step 5: Start application
First, the current version number is determined on the Release page.
At the time of this writing, the most recent version is 1.3.0.
Then the following commands are executed one after the other:
docker pull electerious/ackee:1.3.0
docker tag electerious/ackee:1.3.0 dokku/ackee:1.3.0
dokku tags:deploy ackee 1.3.0
Explanation:
docker pull electerious/ackee:1.3.0downloads the docker image from the docker hub.docker tag electerious/ackee:1.3.0 dokku/ackee:1.3.0creates a local tagdokku/ackee:1.3.0for the Docker image. Applications in Dokku are locally tagged in the formatdokku/[NAME DER ANWENDUNG]:[VERSION].dokku tags:deploy ackee 1.3.0instructs Dokku to deploy the application.
Step 6: Port mapping
Ackee is executed on port 3000.
Since this does not correspond to the standard HTTP port 80, a port mapping from port 80 to port 3000 must be established:
dokku proxy:ports-set ackee http:80:3000Step 7: Enable HTTPS encryption
The application should be secured by HTTPS to reflect the current state of security. Certificates can be stored in Dokku, but the process can also be automated. The Let’s Encrypt Plugin for Dokku provides an easy way to do this.
The plugin must first be installed:
sudo dokku plugin:install https://github.com/dokku/dokku-letsencrypt.gitThe application is then configured for HTTPS.
The value DOKKU_LETSENCRYPT_EMAIL must be set to a real contact address.
Let’s Encrypt sends notifications to this e-mail, for example, when the certificate expires and needs to be renewed.
dokku config:set --no-restart ackee DOKKU_LETSENCRYPT_EMAIL=contact@example.org
dokku letsencrypt ackee
Step 8: Set up the CORS header
Since browsers prevent ajax requests to other domains - so-called “cross origin requests” - a corresponding HTTP header must be set. A more detailed description of the needed CORS header can be found in the documentation.
The following content must be written to the file /home/dokku/ackee/nginx.conf.d/cors-headers.conf.
This will change the Nginx configuration for the application to always send the CORS headers.
# /home/dokku/ackee/nginx.conf.d/cors-headers.conf
add_header  Access-Control-Allow-Origin "*" always;
add_header  Access-Control-Allow-Methods "POST, PATCH, OPTIONS" always;
add_header  Access-Control-Allow-Headers "DNT, X-CustomHeader, Keep-Alive, User-Agent, X-Requested-With, If-Modified-Since, Cache-Control, Content-Type" always;
After the file is created, the Nginx server must be restarted:
service nginx restartStep 9: Create tracking script
The installation of Ackee is now complete. In order to obtain statistics, a tracking script must be added to the respective website. To do so the following steps have to be performed:
- Login to the Ackee interface.
The command
dokku domains:report ackeeshows the correct URL. - Enter the access data (user name and password). The data for this were deposited in step 3.
- Under “Settings” in the section “Domains” add a new domain with the button “New domain”. After the new domain has been created, the script snippet can be displayed by clicking on the domain.
- Insert the
<script>tag with the label “Embeded code” on the website.
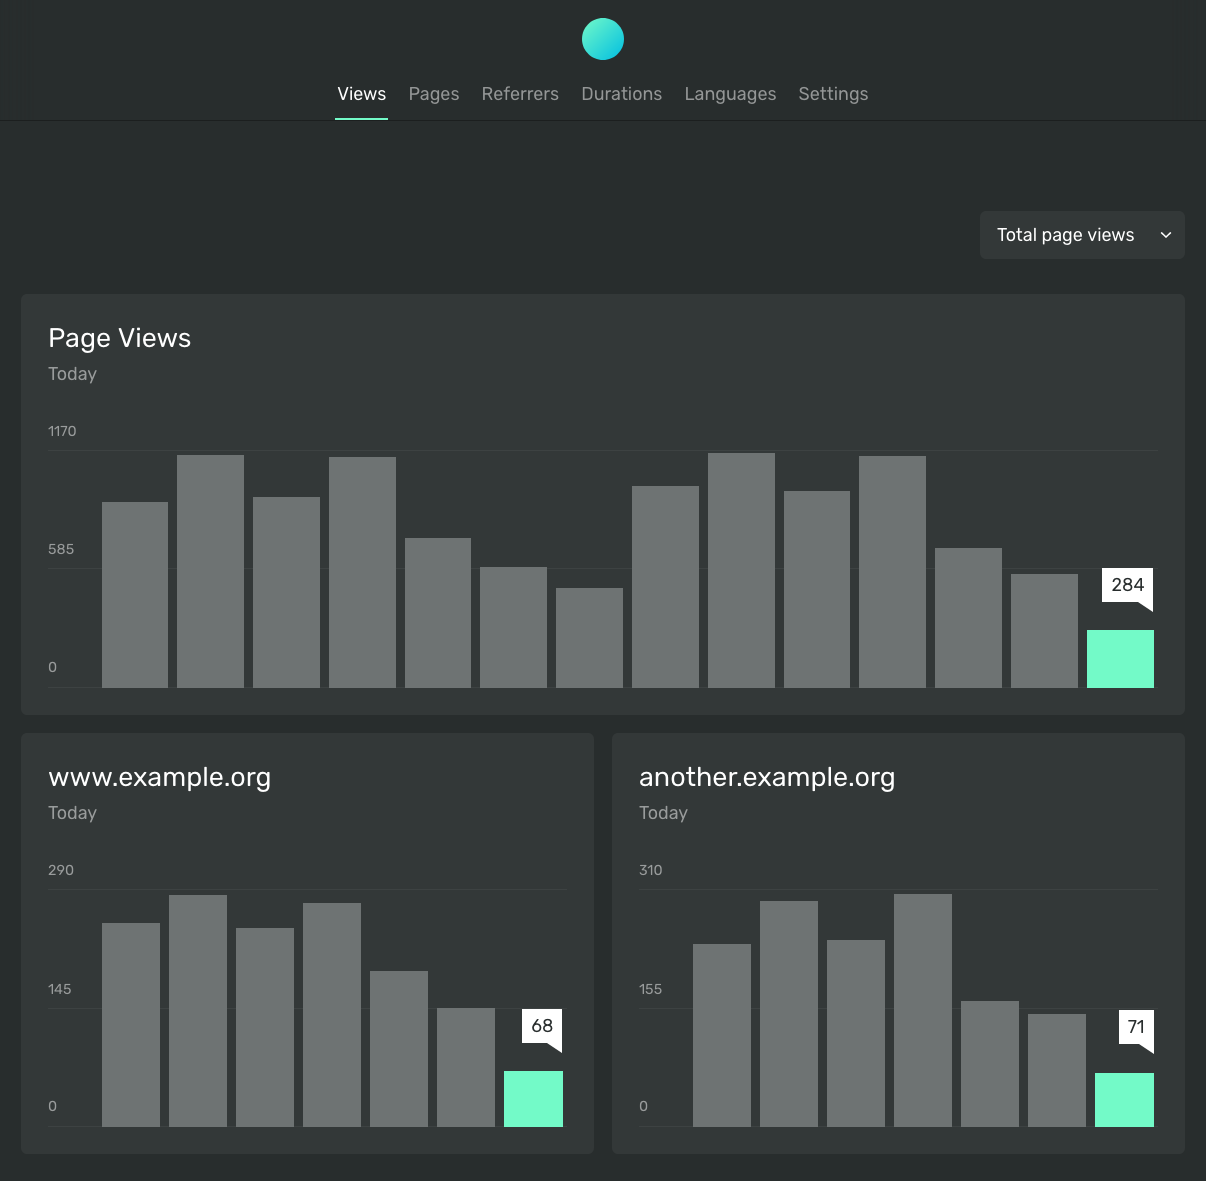
The statistics are now recorded in Ackee.
Update Ackee
To update Ackee, the procedure is about the same as in step 5. First the new version is downloaded from the Docker hub, tagged and then started.
In our example, the newer version is 1.4.0, this value must be replaced by the version to which it shall be updated.
docker pull electerious/ackee:1.4.0
docker day electerious/ackee:1.4.0 dokku/ackee:1.4.0
dokku tags:deploy ackee 1.4.0
If you want to switch back to an older version, you can proceed accordingly. The information about current releases is available on the GitHub page.